I recently learned how to install Ubuntu on my Windows 10 laptop, not as a virtual machine, but as part of my normal Windows installation, so I have the advantage of not wasting resources dedicated to Ubuntu on a virtual machine.
Table of Contents
- Install Windows Subsystem for Linux (WSL)
- Install “Windows Terminal” from the Microsoft Store
- Install the Linux Kernel
- Set WSL 2 as the default version
- Install Ubuntu from the Microsoft Store
- Install ZSH
- Source
Install Windows Subsystem for Linux (WSL)
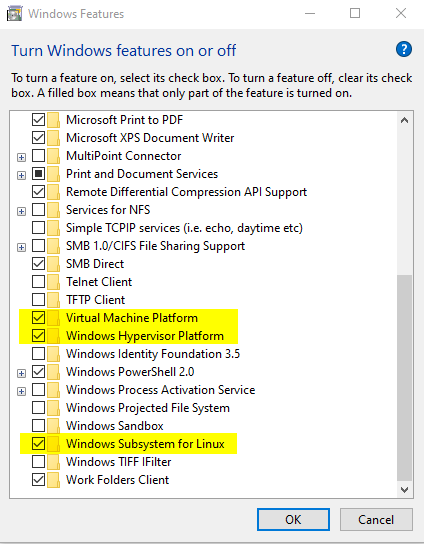
First, you must activate some features of Windows, from the “Control Panel”, which are:
- Virtual Machine Platform
- Windows Hypervisor Platform
- Windows Subsystem for Linx

Once these features have been activated, we must restart the machine
Install “Windows Terminal” from the Microsoft Store
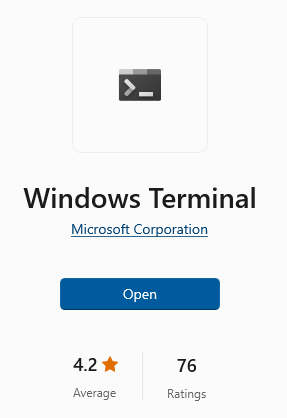
Installing this terminal is not strictly necessary, but it is ideal because it has certain features that allow us to manage several terminals from the same application.

Al terminar la instalación de la terminal, abrir la nueva terminal como Administrador
Install the Linux Kernel
Go to https://aka.ms/wsl2kernel and install the Kernel

Set WSL 2 as the default version
Open the new terminal as PowerShell or Command Prompt and type the following command:
wsl --set-default-version 2
Install Ubuntu from the Microsoft Store
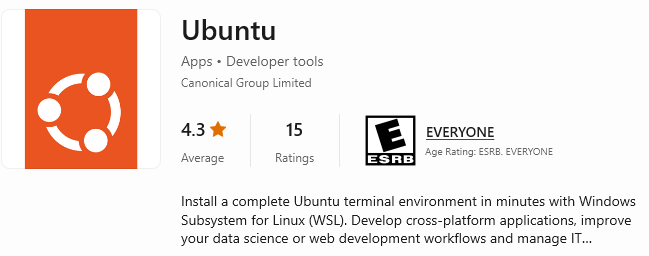
Open the Microsoft Store, search for “ubuntu” and install the official version:

Follow the installation instructions, and at the end, it will ask us to create a username and password.
To access the files on the laptop in Windows, we must change to the “/mnt/c/” directory and from there we can navigate to any file or folder. The letter “c” stands for the name of the hard drive, so if you had any other hard drives, just change the letter in the path.

Later, already in the ubuntu terminal, type the following command to update the pre-installed applications:
sudo apt-get update && sudo apt-get upgrade
Install ZSH
ZSH is a Linux application that helps us improve the Ubuntu Shell or terminal, so from the Ubuntu terminal, we proceed to type the following command to install it:
sudo apt install zsh
Later, go to https://ohmyz.sh/ and run the following command, as explained on the web page:
sh -c "$(curl -fsSL https://raw.github.com/ohmyzsh/ohmyzsh/master/tools/install.sh)"
Now we only need to customize the ZSH shell terminal for which we write the following command in the terminal, which will open the file in Visual Studio Code
code .zshrc
And once the zshrc file was opened, we proceed to make the following editions, which are the “agnoster” theme and later at the end of the file we install the “syntax highlighting” and the “autosuggestions”:
# Set name of the theme to load --- if set to "random", it will
# load a random theme each time oh-my-zsh is loaded, in which case,
# to know which specific one was loaded, run: echo $RANDOM_THEME
# See https://github.com/ohmyzsh/ohmyzsh/wiki/Themes
ZSH_THEME="agnoster"
source /usr/share/zsh-syntax-highlighting/zsh-syntax-highlighting.zsh
source /usr/share/zsh-autosuggestions/zsh-autosuggestions.zsh
Source
These instructions are taken from this video, which does an excellent job of explaining the entire process (in Spanish)


